Share
Pin
Tweet
Send
Share
Send
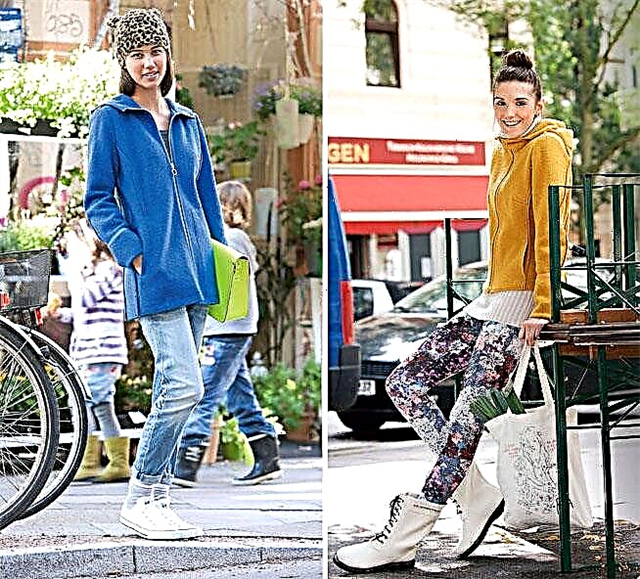
Located close to each other or in separate groups, small metal rings are a super-stylish decoration of clothes and accessories, especially in youth fashion.


AS SNAKE on the front of a simple summer T-shirt, a home-made band with blocks is curling.
It is done like this:
YOU NEED A T-shirt “boxer”, 2 cm wide braid, determine the length yourself by trying on a T-shirt and measuring 6x the width of the front of the T-shirt + 2 cm. Ok. 130 plates with washers diam. 1.5 cm; threads for sewing.
DESCRIPTION OF WORK On the tape, break blocks at intervals of approx. 7 mm. Top either try on or put on a mannequin. Stretch the ribbon with blocks along the front of the model, as shown in the photo. Sew the edges of the braid manually near each 2nd block so that the top can stretch freely. Tape the ends of the braid at the side seams and sew them by hand.

DECORATIVE BASKA from leather of dark and light color and dots turns ordinary leather shorts into a designer thing.

Basque details motive. The motive to copy and reduce to the desired size. Cut out 44 pieces of black and white leather.
YOU WILL NEED Leather shorts, black and white nappa leather, size. 35 x 70 cm each; 44 blocks with washers dia.1.5 cm; textile glue; silk paper; tailor's chalk.
DESCRIPTION OF WORK The black details of the motive should be glued to white, combining the mark with a cross, the edges should slightly diverge. On the front side of the shorts, mark 4 parallel horizontal lines by tailor's chalk at a distance: the top line is 1 cm under the seam of the belt-sewing, the bottom line should be 2 cm above the lower edge, the other 2 should be equally spaced between them.
Place the details of the motif at regular intervals on the marked lines (5 motifs on the 2 upper marking lines and 6 motifs on the 2 lower lines), stick at the point marked with a cross. Break the blocks according to the marking with a cross according to the manufacturer's instructions.

ADDITIONAL STRIPES from sewn rings on a black and white bag give it a more youthful look.
Bag size approx. 40 x 40 cm.
YOU NEED Black leather nappa size. 85 x 65 cm, the rest of the white fabric size. 25 x 45 cm; twill tape 4 cm wide, 1.10 m long; rep ribbon 1 cm wide, 2 m long. Rings diam. 15 mm and 18 mm, each approximately 50 pcs.; sewing threads; textile glue; masking tape 15 mm wide, silk thread for sewing, needle for leather, needle for sewing, ruler.
DESCRIPTION OF WORK 2 pieces of a bag 45 cm long, 42 cm wide and 4 parts of a handle 55 cm long, 5 cm wide are cut out of the skin from leather.
Tip: you can replace the white fabric with white skin.
On white strips, iron long sections on the wrong side, 1 cm wide. Strip the strips on the front part of the bag and sew the rings, see below for step-by-step instructions:
STEP 1 Glue white strips on the front side of the bag obliquely.
stick the crepe tape at right angles vertically and horizontally for marking.
STEP 2 In the intervals between the crepe tape, manually sew large diameter rings.
STEP 3 Remove the crepe tape and sew small ones between the big rings too.
Next, glue the crepe tape so that the size square remains free. 2.5 cm
Fold the bag’s parts face to face, grind the sides and bottom, seam width 1 cm, do not grind 7 cm at the top. Turn these open sections 1 cm and stitch the leather parts to the edge. Wrap the upper edges of the bag parts 3 cm inward, stitch, leaving a drawstring 2.5 cm wide.
Turn out the bag. Glue the twill tape on the 2 sides of the handle so that it protrudes 5 mm on both sides. Then glue the inside out with the other two parts of the handles. Stitch long sections of handles at the ends to a length of 10 cm. Then fold the handles to a width of 2.5 cm, grind open edges, start and end at the same time at a distance of 10 cm from the ends of the handles.
Push the ends of the handles onto the parts of the bag at a distance of 2 cm from the sides and 3 cm under the upper edges. Stitch the upper edges of the bag to the edge, grabbing the ends of the handles.
Cut the rep ribbon in half, thread each ribbon on one side into both drawstrings on the bag, tie the ends in knots.


Photo: Jan Schmidel (7); catwalkpix.com (2); production: Jessica Mersmann.
The material was prepared by Elena Karpova.
Share
Pin
Tweet
Send
Share
Send