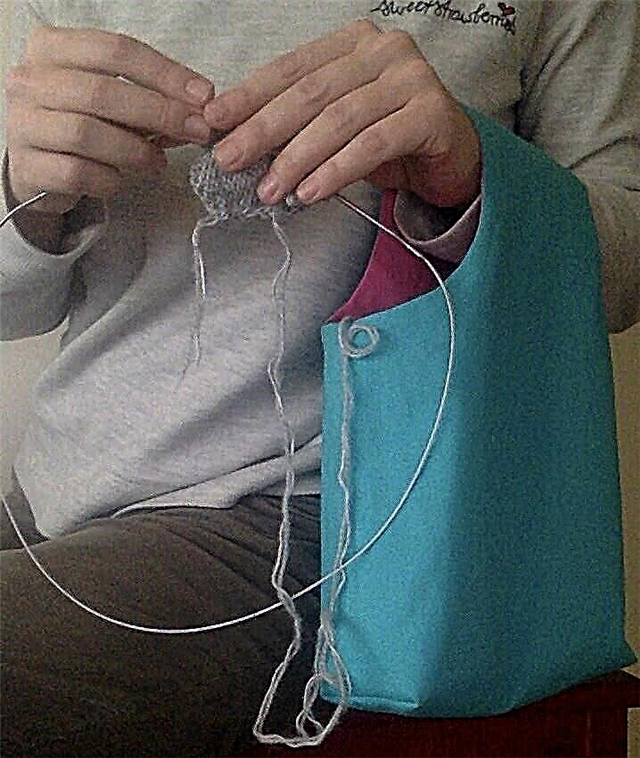
This handbag is worn on the forearm and allows you to do your favorite needlework in almost any situation!
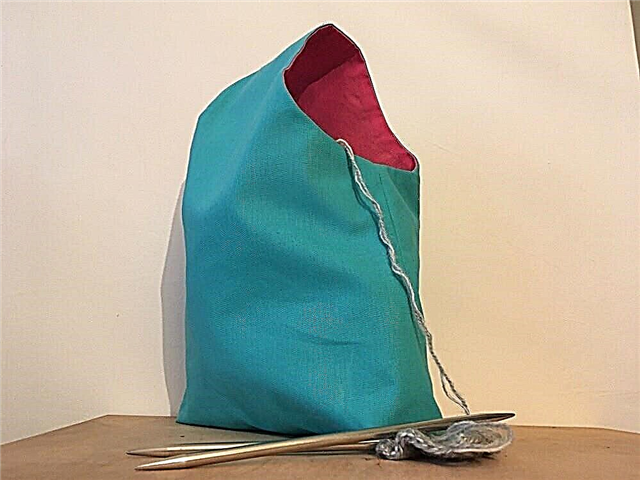
First of all, such a handbag is convenient for those who knit and like to take work with them, for example, on the road. The bag is put on the hand - and the balls are in easy access. It can also be used for embroidery projects. And in between needlework, it’s convenient to store unfinished work in it.
The bag is double-sided, sewn from two colors. It can be sewn from one, but two-color turns out nicer. Cotton or other smooth, non-thin and non-thick fabric will do.
Handbag bag with a lining for needlework: master class
You will need:
- paper, pencil, ruler and paper scissors for the template;
- two types of fabric;
- scissors for fabric;
- pencil, crayon or marker for fabric;
- tailor pins;
- a thin needle for hand sewing;
- sewing machine and thread.
How to sew a bag with embroidery for needlework
Step 1
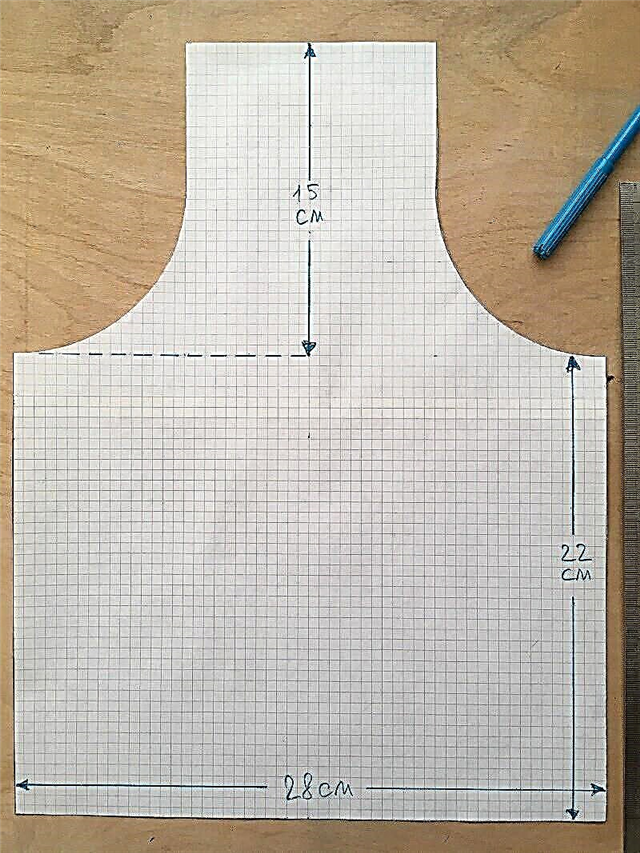
We draw a template. You can make a bag of different sizes, depending on the volume of your handmade projects. Or use the dimensions given.
Step 2
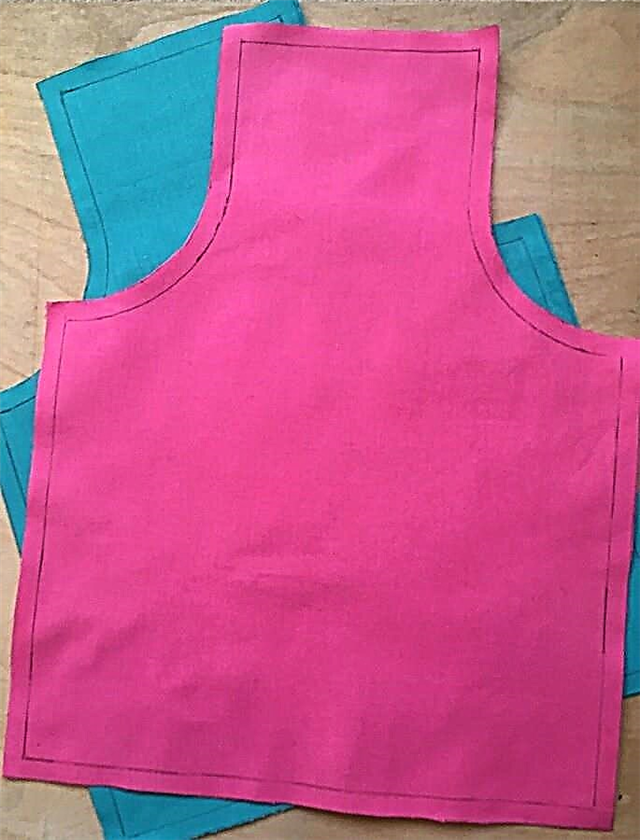
We cut out 4 identical parts, 2 from one fabric, 2 from another. Allowances 1 cm on all sides.
Step 3
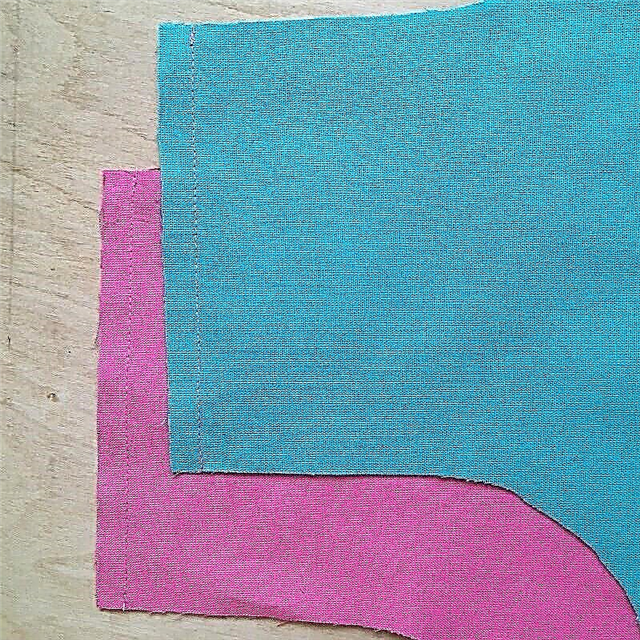
Fold the details of the fabric of each color in pairs with the front sides inward. We break off with pins and grind the shortest sections (handles).

Ironing seam allowances.
Step 4
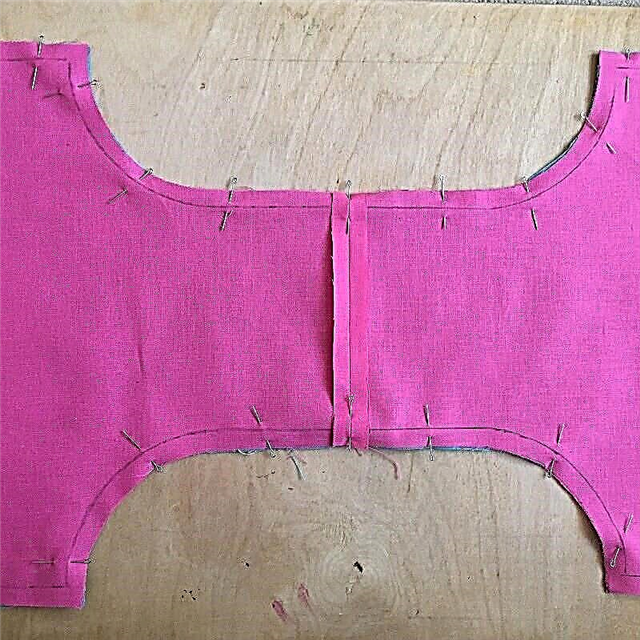
We fold the two resulting parts with their faces inward, pin off rounded sections with pins and grind them.
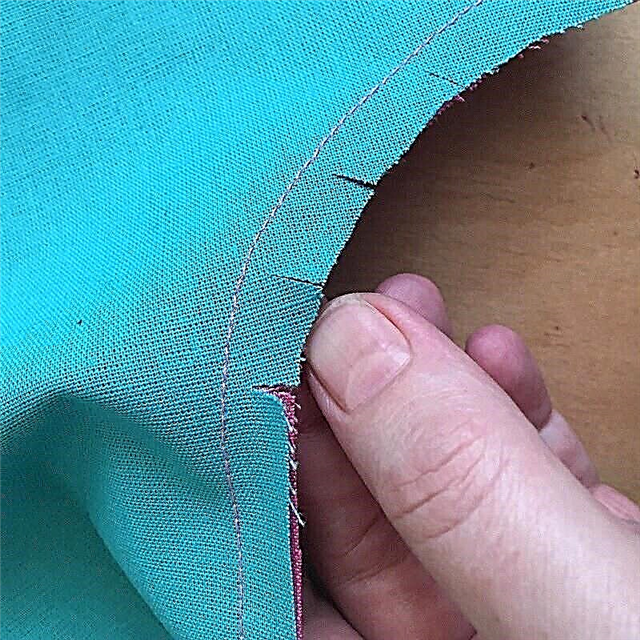
We cut the allowances, not reaching the line of 2-3 mm.
Step 5
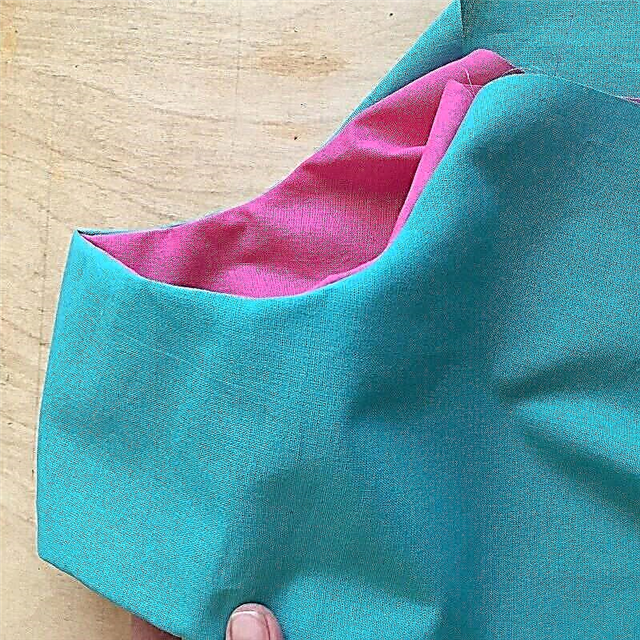
We turn out the future bag.
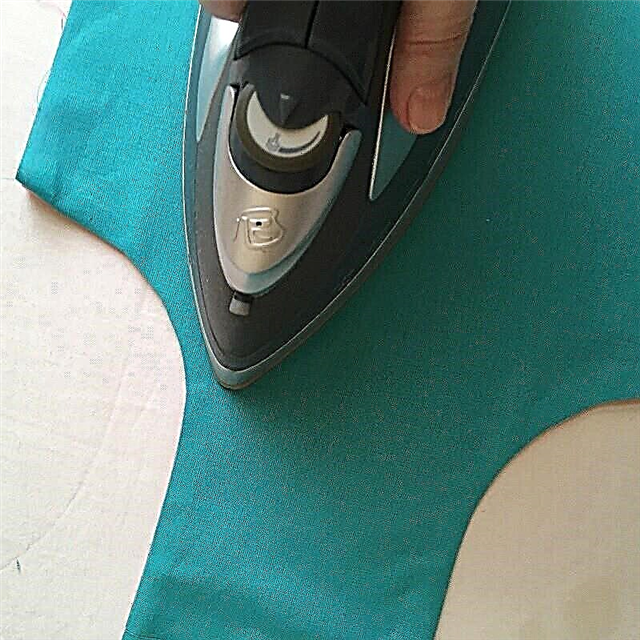
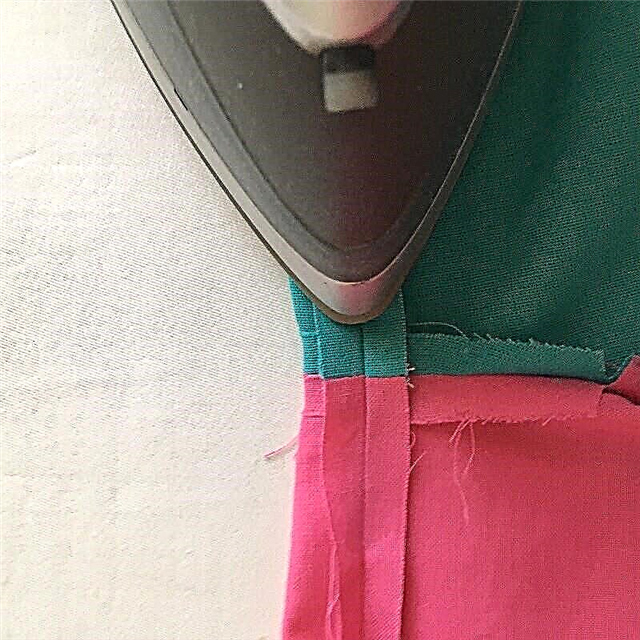
Spread out allowances and ironing.

We iron small sections of allowances (about 2 cm) near the side sections of the bag.
Step 6
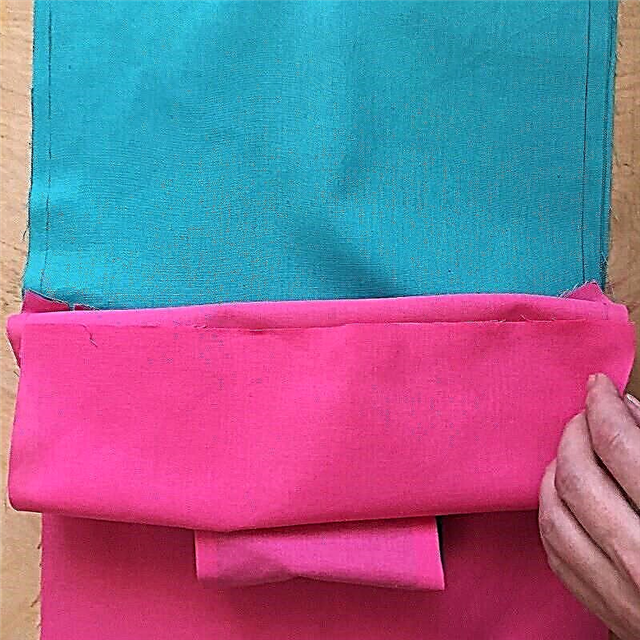
Now you need to expand the details of the bag so that the halves of the same color are together, with the sides inward. Handles remain between parts, inside. You will get a large rectangle, the sides of which along the perimeter will need to be grinded, leaving a hole for turning out.
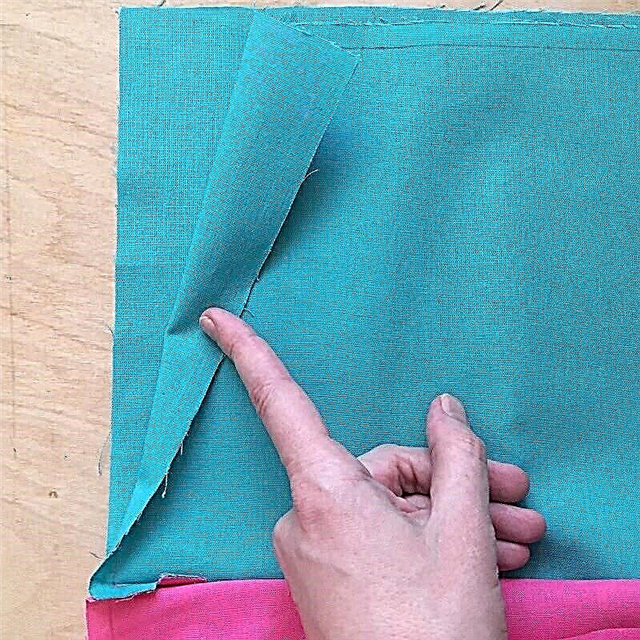
We combine the seams, weave or pin the details with pins.
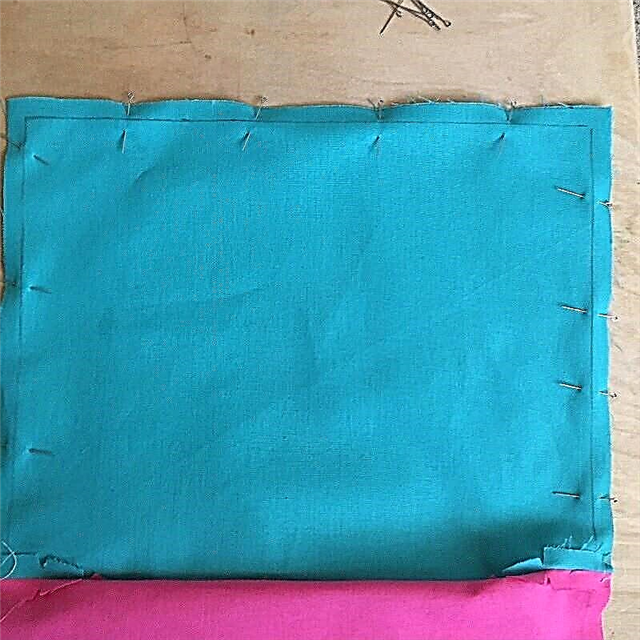
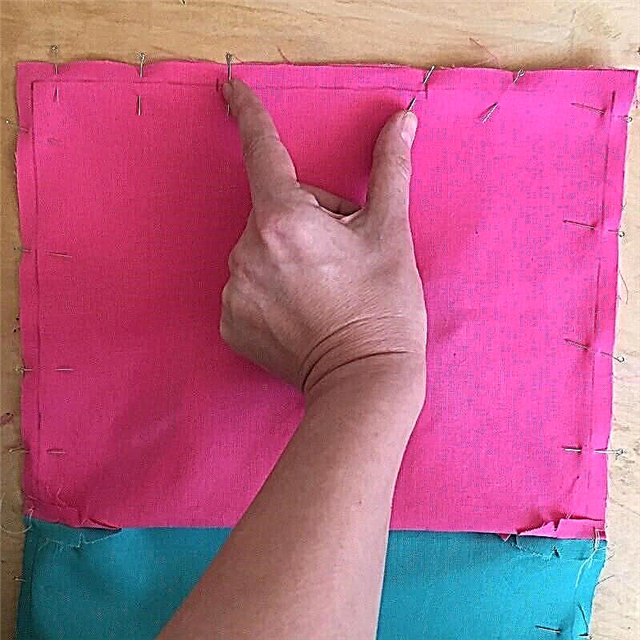
We outline the hole for eversion (12-15 cm). And grind the details around the perimeter.
Step 7
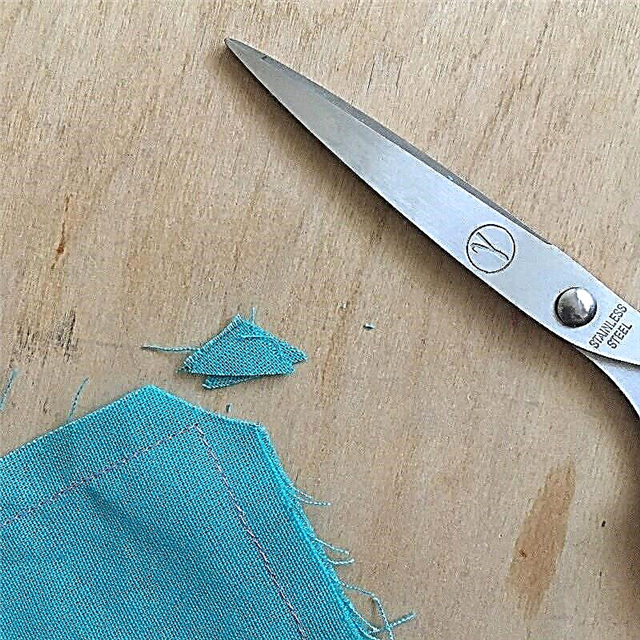
We cut all 4 corners, stepping back from the seam 2-3 mm.
The allowances of the seams made in the previous step are ironed.
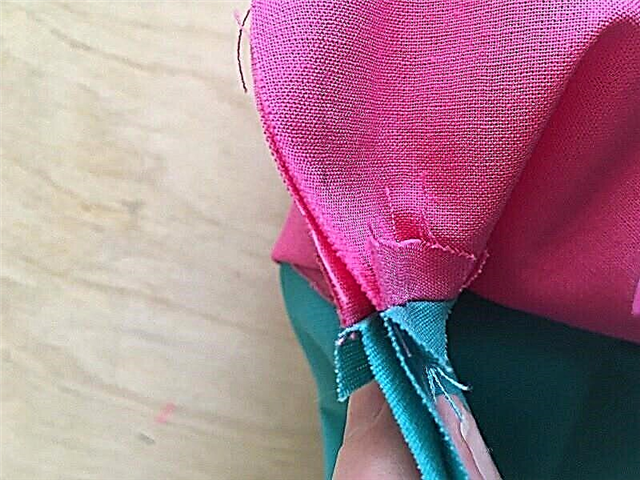
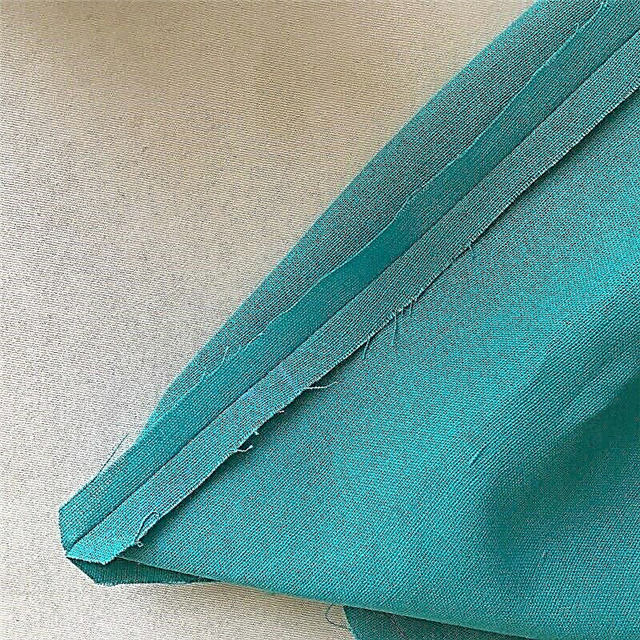
Step 8
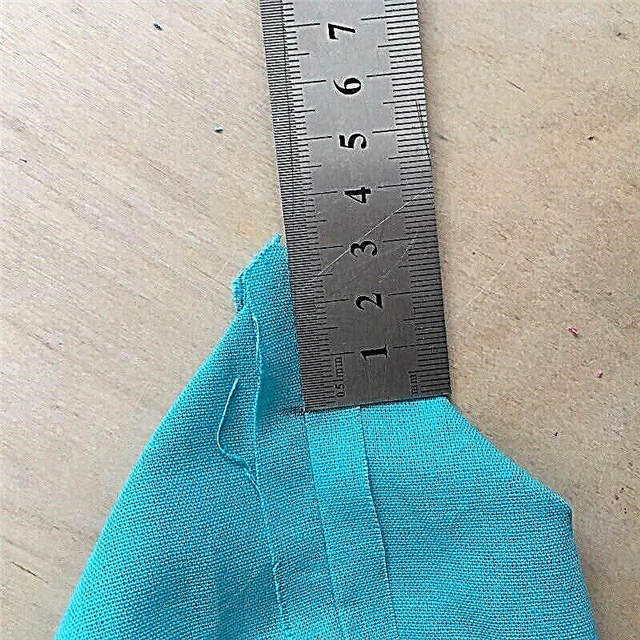
For the volume of the bag, we will sharpen the corners. Fold the bag so that the side and bottom seams coincide, align. We measure along the seam from an angle of 3 cm (more or less - how much you want to make the bottom of the bag wide).
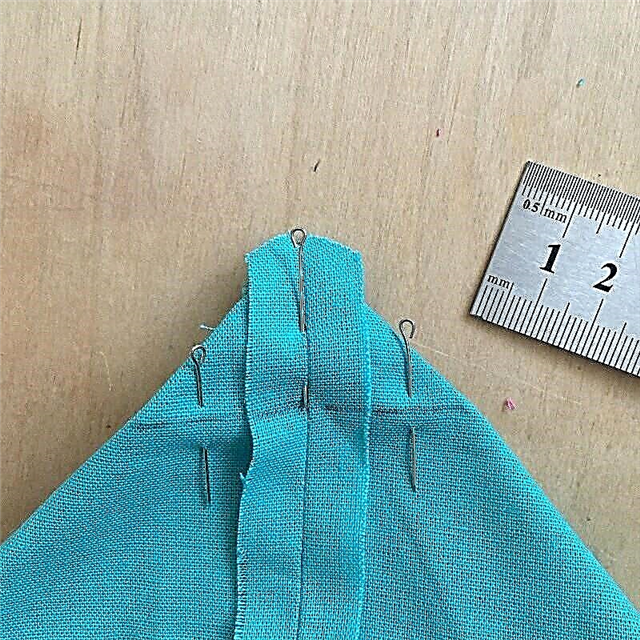
Perpendicular to the seam at the mark level, draw a line, cut the corner with pins and draw a line along the line.
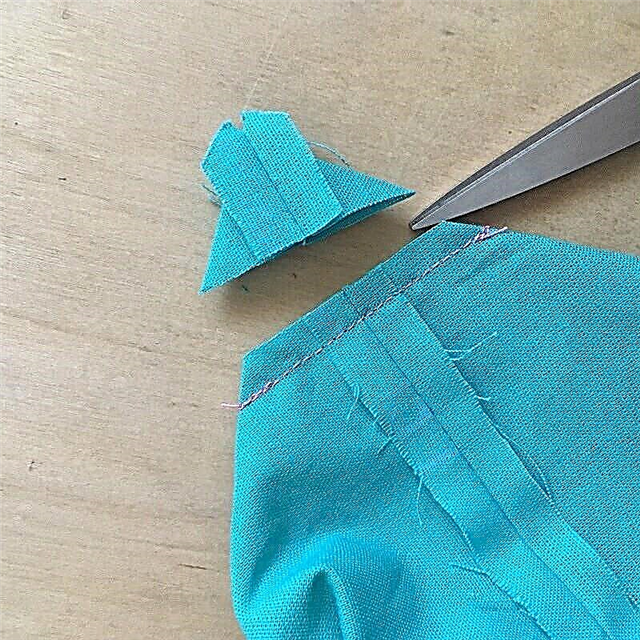
We cut the angle, departing 1 cm from the line. Repeat with the remaining three corners.
Step 9
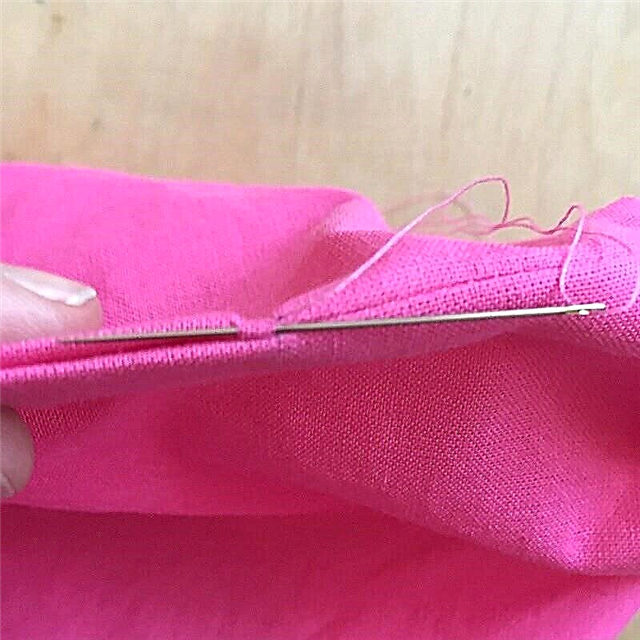
It remains to unscrew the bag and sew the hole manually with a blind seam. Done!

Master class and photo: Natalya Pykhova
Handbag for crafts: master class
How to sew a needlework bag
Organizer basket made of felt and fabric in half an hour
Storage ideas: organizers for every occasion and taste